Dr. Scholls Stylish Step TV commercial - Marias Always on the Go
Advertisers
Advertisers of the Dr. Scholl's Stylish Step TV Spot, 'Maria's Always on the Go'
Dr. Scholl's
Dr. Scholl's is a renowned company that specializes in foot care and comfort. With a rich history dating back over a century, Dr. Scholl's has become a household name when it comes to foot health.Foun...
What the Dr. Scholls Stylish Step TV commercial - Marias Always on the Go is about.

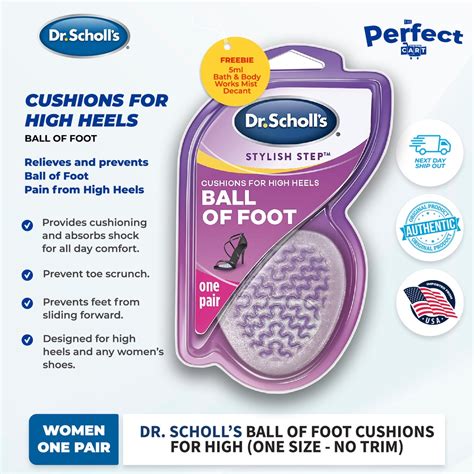
Dr. Scholl's Stylish Step TV Spot, 'Maria's Always on the Go' is a commercial that showcases how Dr. Scholl's Stylish Step insoles can help a busy and active woman like Maria stay comfortable throughout the day.
The ad begins by showing Maria, a young and trendy woman, rushing through different activities on a typical day. From exercising at the gym to running errands and working at the office, Maria is always on the go, and her feet take a beating.
The commercial then goes on to highlight how the Dr. Scholl's Stylish Step insoles offer both comfort and style, with soft and flexible arch support that helps Maria stay energized and on the go. It features various stylish footwears which are paired well with the insoles.
As the ad comes to a close, Maria is seen confidently striding through the city streets with ease, thanks to the added support and style provided by Dr. Scholl's Stylish Step insoles.
Overall, the commercial's message is clear - that Dr. Scholl's Stylish Step insoles offer a practical solution for women who are always on the go. The advertisement's positive and playful tone adds a touch of fun to the product, helping to make it more appealing to consumers who want both style and comfort in their footwear.
Dr. Scholls Stylish Step TV commercial - Marias Always on the Go produced for Dr. Scholl's was first shown on television on August 13, 2017.
Frequently Asked Questions about dr. scholl's stylish step tv spot, 'maria's always on the go'
Videos
Watch Dr. Scholl's Stylish Step TV Commercial, 'Maria's Always on the Go'
We analyzed TV commercials placed on popular platforms and found the most relevant videos for you:
Actors
Actors who starred in Dr. Scholl's Stylish Step TV Spot, 'Maria's Always on the Go'
Agenices
Agenices of the Dr. Scholl's Stylish Step TV Spot, 'Maria's Always on the Go'
Spark Foundry
Spark Foundry is a global media agency that specializes in data-driven advertising solutions that drive business results. The company has a rich history, having been founded in 2018 as a rebranding of...
TV commercials
Similar commercials


